
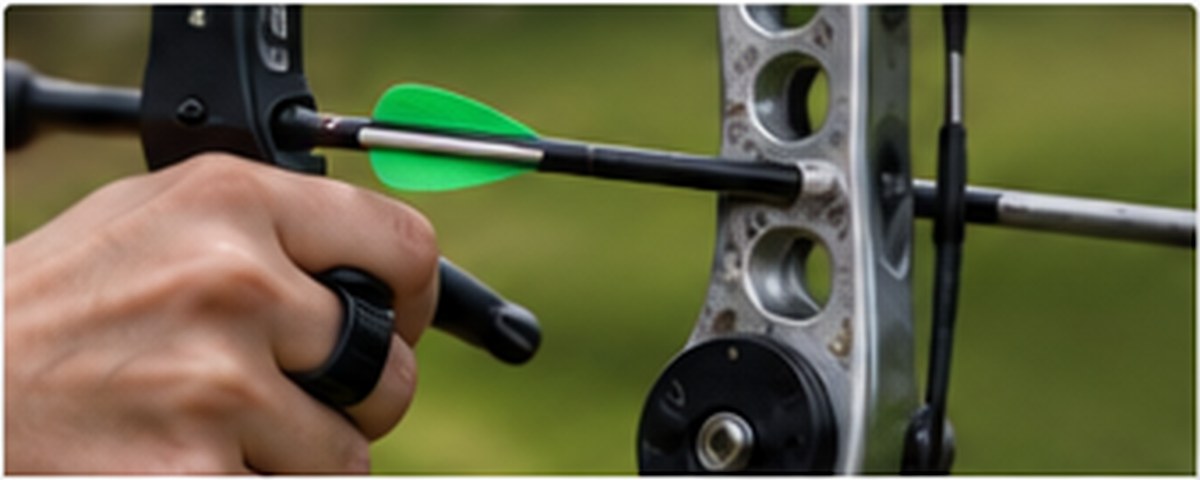
A clicker is a draw-length reference, not a trigger that should surprise or frighten the archer into releasing. Used well, it improves repeatability. Used badly, it can create freezing, collapsing, over-drawing or punching the shot.
Set it only after basic form is stable
The archer should already have a repeatable stance, anchor and draw length. If the draw length changes significantly from arrow to arrow, the clicker position will only expose the inconsistency.
The correct sequence
- Draw to a stable anchor with the arrow safely beneath the clicker.
- Transfer the load into the back while maintaining posture.
- Aim without trying to hold perfectly still.
- Continue a small controlled expansion.
- When the point passes the clicker and it drops, continue the shot and release without a separate snatching command.
Common bad habits
- Clicker panic: rushing the final millimetres because the click feels overdue.
- Freezing: stopping all movement while waiting for the clicker.
- Over-drawing: dragging the elbow back excessively to force the arrow through.
- Collapsing: losing back tension and allowing the arrow to move forward.
- Punching: hearing the click and consciously flicking the fingers open.
Drills
Use a blank boss, low draw weight and close range. Practise drawing, settling and coming down without shooting. Then practise smooth expansion through the clicker with no scoring pressure. A coach can watch whether the clicker is being passed by balanced expansion rather than body distortion.
Clicker position
Move it in very small amounts. A change of only a few millimetres can be significant. If you constantly struggle to reach the clicker, check posture, draw length, fatigue and arrow length before simply moving it backwards.
Further reading and official guidance
Club note: This guide supports coaching rather than replacing it. If a coach, judge or field captain gives an instruction for safety or competition procedure, follow that instruction.