
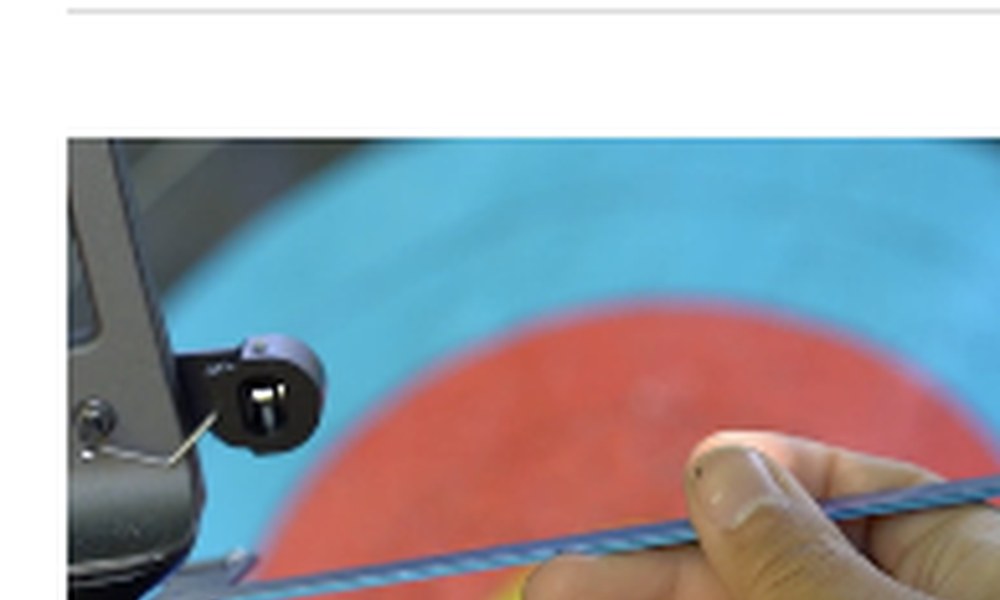
Limb alignment describes whether the limbs, string path and riser are centred as intended. Poor alignment can affect clearance, tuning and how the bow behaves during the shot.
Before adjusting anything
Confirm the limbs are fully seated, the bow is correctly strung, the string is in both limb grooves and all limb bolts are secure according to the manufacturer instructions. Never make adjustments to an unfamiliar riser without checking its manual.
Basic visual check
- Place the bow safely on a stand.
- Stand directly behind the string, not at an angle.
- Use limb alignment gauges if available.
- Compare the string with the limb centres and riser reference points.
- Check both top and bottom rather than correcting from one limb alone.
Why perspective matters
If your eye is not exactly behind the bow, an aligned bow can look crooked. Take repeated observations from the same position. Photos can help, but lens distortion can also mislead.
Adjustment
ILF risers commonly provide a controlled method of lateral limb alignment, but systems vary. Make tiny adjustments, keep a record of the starting position and follow the manufacturer sequence. Do not use alignment screws as a substitute for damaged limbs or an incorrectly assembled bow.
Recheck after adjustment
Verify brace height, tiller, nocking point and centre shot afterwards. An alignment change may alter other setup references.
Further reading and official guidance
Club note: This guide supports coaching rather than replacing it. If a coach, judge or field captain gives an instruction for safety or competition procedure, follow that instruction.